We’ll get you up and running with tubeless tires before you can say sealant!
Tubeless Tires Overview
Tubeless tires are an awesome innovation in cycling. Going tubeless means you can run lower tire pressures, offering more traction, a lower rolling resistance, and reducing the frequency of flats. There are some essential items and things you need to know about going tubeless, starting with the setup. We will walk you through the process of setting up your tires and go over a few tools to carry on the trail. We recommend watching this video from Park Tool which covers the complete installation of tubeless tires.
How To Set Up Tubeless Tires
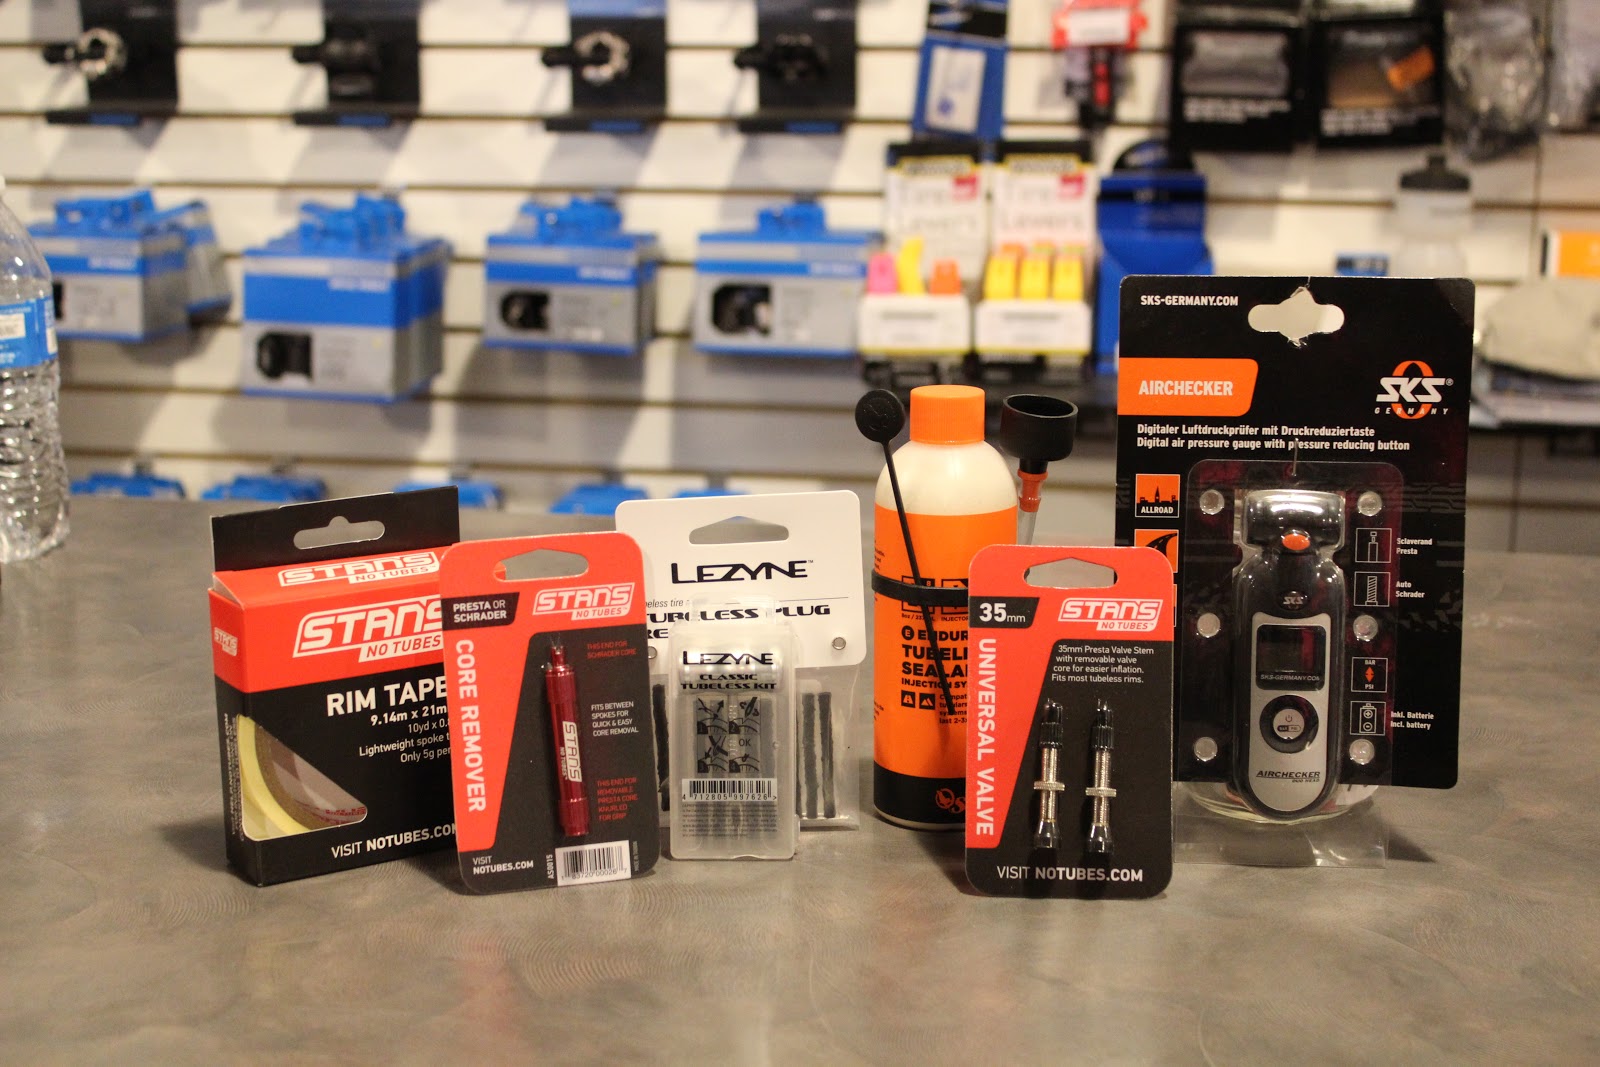
To start, you’ll need a tubeless-ready tire and taped rim. Can all rims or wheels go tubeless? Any clincher rim or wheel can be used for a tubeless setup. This is the most common type of rim you will find today. The rim must be taped to seal the spoke holes, which can be done with Stan’s Rim Tape or Guerilla tape. We recommend using Stan’s Tape which is much easier to clean up and doesn’t leave behind a residue like Guerilla Tape! How do you know if your tires are Tubeless Ready? The tire will often say so on the sidewall or packaging it came in. When in doubt, check the manufacturer’s website. You can’t just use any tire for a tubeless setup. Tubeless tires have a special bead that hooks onto the rim that keeps the tire from blowing off the rim when inflated! This is a great way to spray sealant everywhere and damage your eardrums from a loud explosion! Note: you can still blow a tubeless specific tire off the rim from over inflation!
We’ve made it easy for you to shop for tubeless tires on Bikeparts.com. Just filter for Tubeless Compatible tires under the special features tab. Be sure to pick add some tubeless valve stems and tire sealant to your cart too. We have a wide variety of valve stems to choose from brands like Stans and Industry Nine. Our favorite sealants are the Race Sealant from Stans and Endurance Sealant from Orange Seal. For a smooth installation, we recommend an air compressor, but with a bit of elbow grease and will power you can do it with a floor pump.
How To Fix A Tubeless Puncture
Once you’ve gone through the tubeless setup process you’re up and rolling! Tubeless tires do mean you will get flats less often, but they do happen from time to time. Especially if you ride somewhere very rocky like Golden. If you puncture your tire having tire plugs can be the difference between a quick fix and a long day on the trail. You’ll know you’ve punctured your tire when you hear a dreaded hiss and see sealant spraying. Grab your tubeless patch kit like this one from Lezyne. Thread the plug through the insertion device and push it in the puncture. Note, it might take multiple plugs to completely seal a puncture.
Once the hole is completely sealed, pump it back up to the desired pressure. This is where a digital pressure gauge comes in handy! In some instances, you might have lost enough air that the tire bead broke away from the rim. You can use a CO2 inflator for a quick blast of pressure to reseat the tire bead. How long with a tubeless plug last? We’ve seen tubeless plugs will last the life of the tire if installed correctly.
Went Tubeless!
Having tubeless tires is awesome and we highly recommend it. Making sure you’re prepared with the right tools and supplies will keep you feeling confident about taking care of issues when they pop up. Have fun exploring different tire pressures and seeing what feels best. The right pressure is different for everyone and depends on a variety of factors including wheel size, tire size, riding style, and terrain. We hope this article helped guide you towards being more knowledgable and prepared when it comes to tubeless tires. Shop now at bikeparts.com for everything you need!